Your
new HGU-55/P comes in and is missing the bayonet receivers for the oxygen mask. No
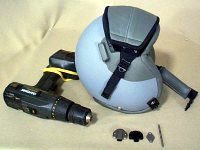
problem. They are easy to install, and will take less than 30 minutes. You will need:
Lightweight bayonet receiver kit; cordless drill; phillips head screwdriver; 5/32 drill
bit.
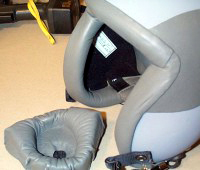
If
you have help, you can put the helmet on and place the oxygen mask to your face. Slide the
bayonet receivers on the "J" clips and trace where they hit on the helmet. This
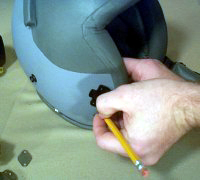
will give you a custom fit as done in the ALSE shops. Take the black plastic spacer from
the kit and use it as a template. Mark the holes for drilling with a pencil. If no help is
available, estimate the angle and position- 35 to 40 degrees is a good start. You want it
about 1/8" away from the edgeroll & 1/8" above the chin strap piece on each
side.
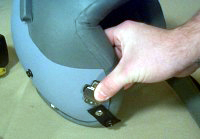
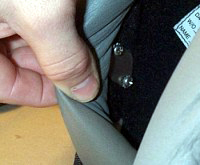
Hold
the lightweight receiver & spacer in the final position and make sure the bayonet clip
will have a clear path. This one looks good. There is no going back once you start
drilling.
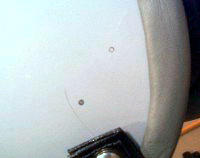
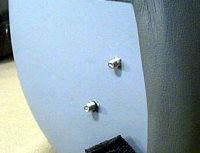
Shown
here are the two pencil marks made from the plastic spacer used as a template. DO NOT use
a nail punch or anything to "start" the hole- this can and will damage the
shell. The drill will have no problem starting a clean hole.
Make
sure and remove the earcup assembly so you do not drill holes in it too. Feel around
inside to make sure you will not hit any unknown pieces. Also, make sure you are far
enough back so as not to drill through the edgeroll (which is thicker on the inside).
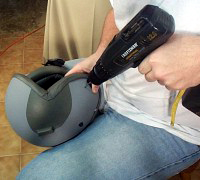
Place
the helmet in your lap and keep a firm grip on it with your other hand. The Kevlar shell
is quite soft to the drill bit, so a lot of pressure is not needed. Remember to go slowly
and let the drill bit work. Forcing the hole will damage the shell and might cause the
drill to slip and scratch the shell. Watch your fingers on the back side!
After
drilling through the shell, move the drill around a little to round out the hole. The 5/32
drill bit is slightly larger than the screws from the receiver kit- this is to allow a
little leeway in mounting the receivers. This side is drilled and ready for mounting.
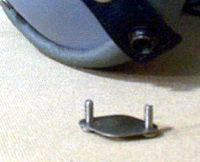
Put
the hardware together- Shown here are the screws, lockwashers, and reinforcing plate.
Ready to install.
The
hardware should slip right into the holes from the inside. You can put the hardware under
the cloth or on top as shown here. Either way is acceptable. It is usually difficult get
the cloth to stick down after pulling it up.
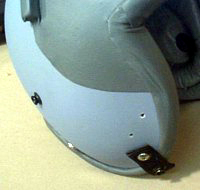
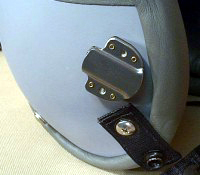
Here
are the screws sticking out- ready to receive the rest of the assembly. Note how the
shafts are at different angles- this is due to the curvature of the shell. Since the hole
is slightly larger than the screw- it will not be a problem to adjust the angle.
Slip
the black plastic spacer onto the shafts- this should get the screws in the correct angle
to finish the job.
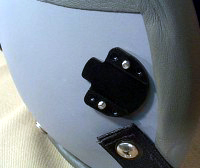
Place
the metal bayonet receiver on the plastic spacer. From the inside of the helmet, twist the
screws into the metal receiver which has threaded holes. Tighten the top and bottom screw
a little at a time- this will prevent too much stress on either side. Tighten down to
wrist strength.
Now
repeat for other side. Make sure and get the receivers as close to level to each other
horizontally and at the same angle. Although explaining the process takes a while- you
will find that the job goes rather quickly and is easy. As seen below- the helmet with
oxygen mask makes a great display!